React UI with login flow using AWS Amplify and Cognito
- 4 minutes read - 837 wordsAfter building out some simple backend examples using Amazon QLDB, it’s now time to build out a full stack application to really bring a combination of AWS services to life and show whats possible. Luckily, to do that I’ve been joined by Chris Williams and Greg Simons and we’ve set up a GitHub repository for anyone else interested in taking part.
The aim is that this will be a series of blog posts stepping through some of the process. This first step is creating a new UI that will allow a user to register for an account and subsequently login, sign out, and change password. To do this, we are using React, together with AWS Amplify and Cognito to show how simple it is to get up and running. We made a git repository with separate folders for the frontend, and the backend.
Setting up the frontend
The initial version of the UI is a single page app, and the setup is carried out using the following command:
npx create-react-app frontend
You can find more information about this here. This command doesn’t handle any backend logic; it just creates a frontend build pipeline, so it can be used with any backend.
We’ve decided to go with Sass, and for this we are using the node-sass library installed using:
npm install node-sass
We are using react-bootstrap, which is a complete re-implementation of the Bootstrap components using React. We also install vanilla bootstrap to allow customising the Sass files. This is done using:
npm install react-bootstrap bootstrap
react-bootstrap doesn’t ship with any included CSS, but a stylesheet is required to use these components. We therefore renamed index.css to index.scss and replaced the content in it with the following import statement
@import "~bootstrap/scss/bootstrap";
The final steo was to update the import statement in the src/index.js file to include the Sass file
import './index.scss';
Setting up the backend
The backend uses the serverless framework and was created with the following command:
sls create --template aws-nodejs --path backend
There are a few organisation changes from personal preference, such as moving the function to a separate directory, and a number of useful plugins included.
A Cognito user pool and user pool client is created using CloudFormation, which is defined in a separate file. The AutoVerifiedAttributes attribute is set to email on the user pool, to ensure that the email address entered by a user is valid. The aws-amplify-exports-serverless-plugin to generate the appropriate configuration files for using AWS Amplify with the Serverless Framework.
Creating initial UI and login flow
At this point, we want to create a simple user directory service that allows users to register, login, and handle account recovery scenarios. Although this is typically complex, Amplify makes it incredibly easy with its integration with Cognito. The Amplify Framework comes with authentication UI components you can use that will provide the entire authentication flow for you, and has pre-built UI compponents for React, Vue, Angular and React Native.
We add both Amplify and the ui-react components to our application using the following:
npm install aws-amplify @aws-amplify/ui-react
We load the configuration file specified by the aws-amplify-exports-serverless-plugin in the index.js file as follows:
import Amplify from "aws-amplify";
import awsconfig from "./aws-export";
Amplify.configure(awsconfig);
Next, we want to create a simple landing page, which we do by editing the App.js file. We start off by importing the withAuthenticator and AmplifySignOut ui components:
import { withAuthenticator, AmplifySignOut } from '@aws-amplify/ui-react';
...
<AmplifySignOut />
...
export default withAuthenticator(App);
The withAuthenticator is a higher-order component (HoC) that wraps AmplifyAuthenticator. The AmplifySignOut component renders a sign out button.
Finally, we use React Hooks to get hold of the username from the Auth module and save the state, to allow us to render the name on the landing page.
Running the Demo
To run the demo, you need to first deploy the backend, by navigating to the backend directory and running the following:
sls deploy
This will generate the required aws-export.js file in the frontend directory. Next navigate to the frontend directory and start up the development server using:
npm start
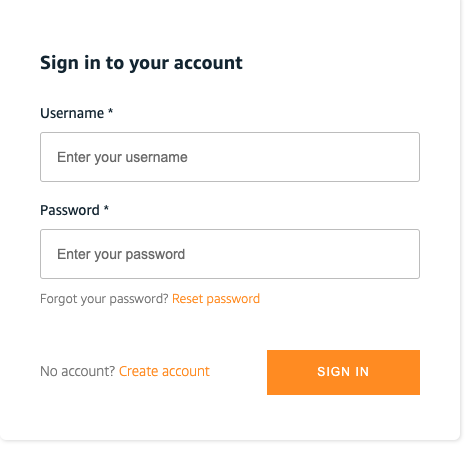
When the development server starts we get presented with the following screen:

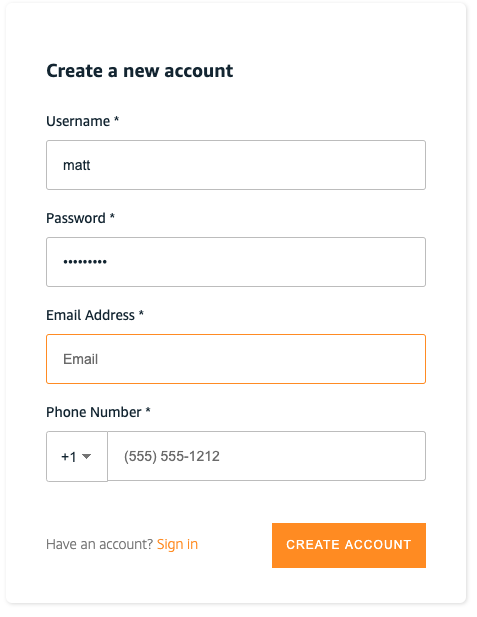
As we don’t have an account at this point, we click on the link to create an account:

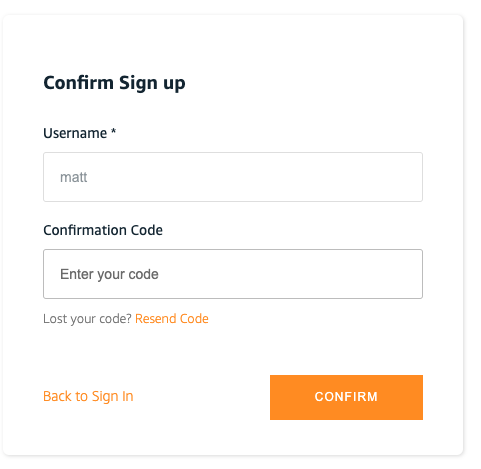
Once we have created an account, we are automatically emailed a verification code. We enter this code to confirm the sign up of our account.

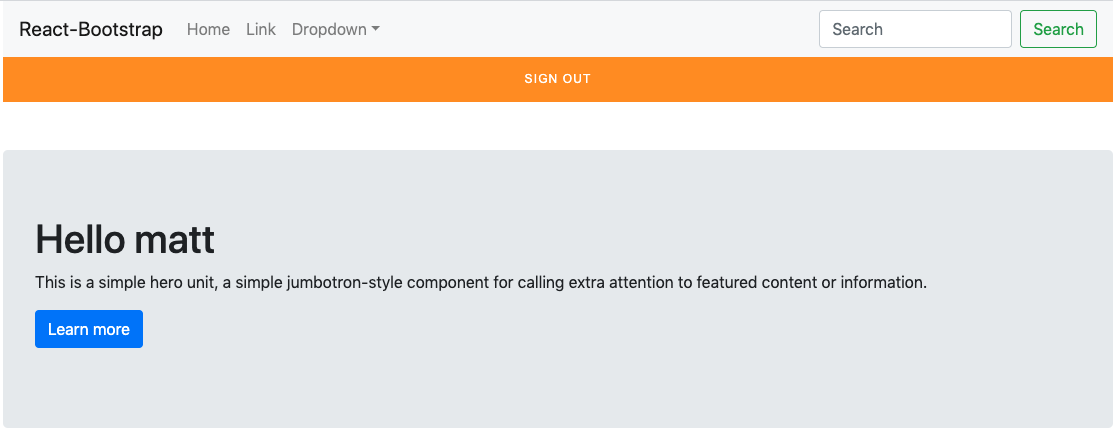
And finally we are presented with our landing page, that says hello to the authenticated user.

Conclusion
And there we have it. In under an hour we have shown how we can stand up a UI using React, the Amplify framework and Cognito that allows a user to register, confirm sign up, login, sign-out and reset password. We have bootstrap components available to us to start customising the UI and then we can start integrating with the backend as we build out the next part of the full stack application. All of this has been done using out of the box components and infrastructure as code.